
Nissan X-Trail procurement guide
Nissan X-Trail Body and Lighting Parts Guide
Use complete vehicle photographs and define bare-versus-equipped contents before comparing collision quotations.
Photograph the whole vehicle
Front, rear and side images reveal facelift, trim, wheel-arch and adjacent-part interfaces.
Name every opening and function
Record lamp type, side, beam market, camera, radar, parking sensor, fog lamp and keyless-entry equipment.
Plan volumetric packing
Brace hoods and tailgates, suspend lamp lenses and avoid folding bumper skins or liners.
Body, Collision, Lighting & Doors
Use full front, rear and side photographs with build date, trim and lamp technology for SUV panels and mechanisms.
| Component | Selection boundary |
|---|---|
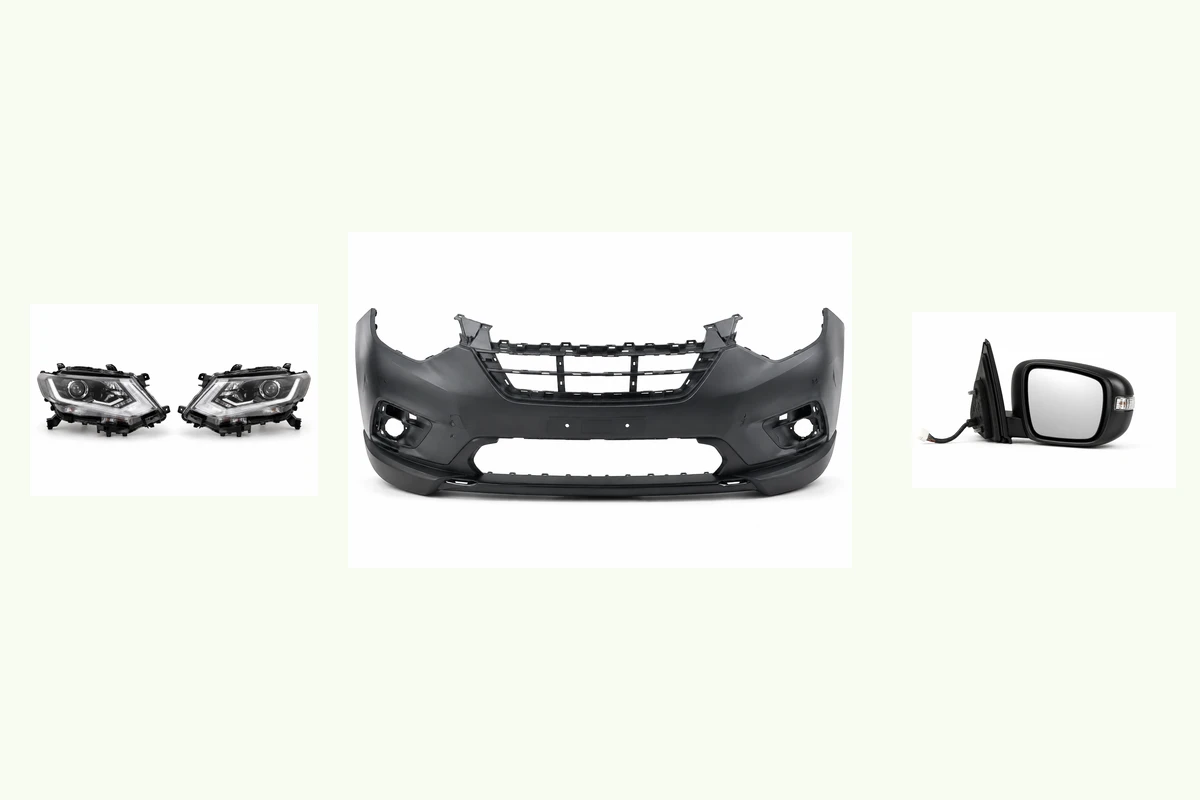
Match the X-Trail headlights to generation, facelift, trim and side. Record halogen or led equipment and beam market together with connector, module and bracket contents before sampling. | |
For X-Trail tail lights, start with generation, facelift and side; use outer body or tailgate section and lamp technology, connector and tabs to separate similar variants. | |
Specify X-Trail fog lights by bumper revision and trim. Retain side and bracket geometry and lamp, bulb and bezel contents so offers describe the same assembly. | |
Build an X-Trail front bumper inquiry around generation, facelift and trim, then compare fog, sensor, grille and tow-eye openings and cover, reinforcement and bracket scope. | |
Match the X-Trail rear bumper to generation, facelift and trim. Record reflector and sensor openings together with cover, absorber and reinforcement scope before sampling. | |
For X-Trail front grille, start with grille position and facelift; use camera, emblem and sensing provisions and finish, clips and surround scope to separate similar variants. | |
Specify X-Trail side mirror by side, steering market and door. Retain heating, folding, indicator and camera functions and connector pins, finish and supplied glass so offers describe the same assembly. | |
Build an X-Trail front fender inquiry around side, series and facelift, then compare flare, marker and trim holes and flange geometry and finish. | |
Match the X-Trail hood panel to series and front-end revision. Record hinge, latch and washer interfaces together with panel finish and hardware scope before sampling. | |
For X-Trail tailgate / liftgate, start with generation, facelift and spoiler; use hinge, latch, camera and lamp interfaces and bare panel or fitted hardware to separate similar variants. | |
Specify X-Trail window regulator by door and side. Retain motor inclusion and connector and rail geometry and glass attachment so offers describe the same assembly. | |
Build an X-Trail door lock actuator / latch inquiry around door or tailgate location and side, then compare latch, cable and rod interfaces and connector and locking functions. | |
Match the X-Trail wiper motor & linkage to generation and steering side. Record spindle spacing and sweep geometry together with motor, linkage and connector contents before sampling. |
Continue with the same vehicle details
Use the X-Trail parts directory to identify other assemblies. Once specifications are clear, retain quantities, packing and destination through the shipping and quotation guide.
Auto parts inquiry
Send the vehicle and part evidence.
Include brand, full model, year, engine or EV drivetrain, OE/material code, quantity, destination and packing request. You can attach a list or old-part photos.